 Project Duck News
Introduction
Hi everyone! I am Neiphis (Cryox#6469). I’ve played Dragon Nest EU during cap 40 to 70 then started SEA DN cap 95 and I joined Project Duck in August 2020. I have been playing cleric ever since. I mainly focus on Inquisitor, Guardian and Saint.
If you're interested in learning about other classes, we have a Class Guide Archive - Vino
Class
Saint is one of the 3 healer classes in Project Duck Dragon Nest. The main difference between Saint and the other 2 healers is its Immortality skill which gives a small party invincibility frame (3 seconds). Saint gameplay revolves around relic positioning. In order to DPS correctly on saint you need to know what is possibly the next move the boss is about to do. In other words, it rewards players who properly time and position their skills and accurately predict boss mechanics to effectively deal damage.
Skills
The skills are explained with the assumption that you have learned their respective awakening, class mastery, and EX passives. Cooldowns are explained with taking in account cooldown reduction buff from Sorceress/Kali.
Legend:
- [Awakened Heal] ⇔ Small Heal
- [Great Heal] ⇔ Big Heal
- HoT ⇔ Heal Over Time (sometimes called Tick heal)
- CC ⇔ Crowd Control
- 1 Meter ⇔ 100 Units. For reference Base class buff is 700 Units ⇔ 7 Meters
- CM ⇔ Class Mastery
- AoE ⇔ Area of Effect
- [Immortality] ⇔ Immo
Cleric
-
[Paralyze Bolt]: Used as a combo skill for CM3. Throws a bolt of holy energy to attack the enemy in front of you and explode dealing damage and binding in an AoE. This skill binds for 2.5 seconds at level 16 and can be used to Crowd Control enemies for certain mechanics.
-
[Redemption Aura]: Class party buff (+20% Max HP | +10% Elemental damage | +10% Incoming Healing) which shall be used every time a buff wipe mechanic happens or if a party member is asking for rebuff. This buff increases incoming heal by 10% with a 100% uptime.
-
[Block]:
Cleric's cheat skill. Gives you a buff that lasts 20 secs or until you block 5 hits. This skill can save you from stomps or mechanics where other classes should be dodging. Keep in mind, while blocking it will cancel any skill you are casting. -
[Awakened Heal]: Aura of Healing, later changed to Heal is one of your 3 heals on Saint referred to as Small Heal. Gives a burst heal of 5% of the target’s HP and gives a Heal Over Time that lasts 15 seconds (activates 5 times every 3 seconds) and heal for 25% of caster’s Magic Attack. Do not neglect the HoT since it scales off of your magic attack.
Ex: If you have 5m magic attack, it heals for 1.25m HP every 3 seconds for 15 seconds = 6.25m HP total.
Priest
-
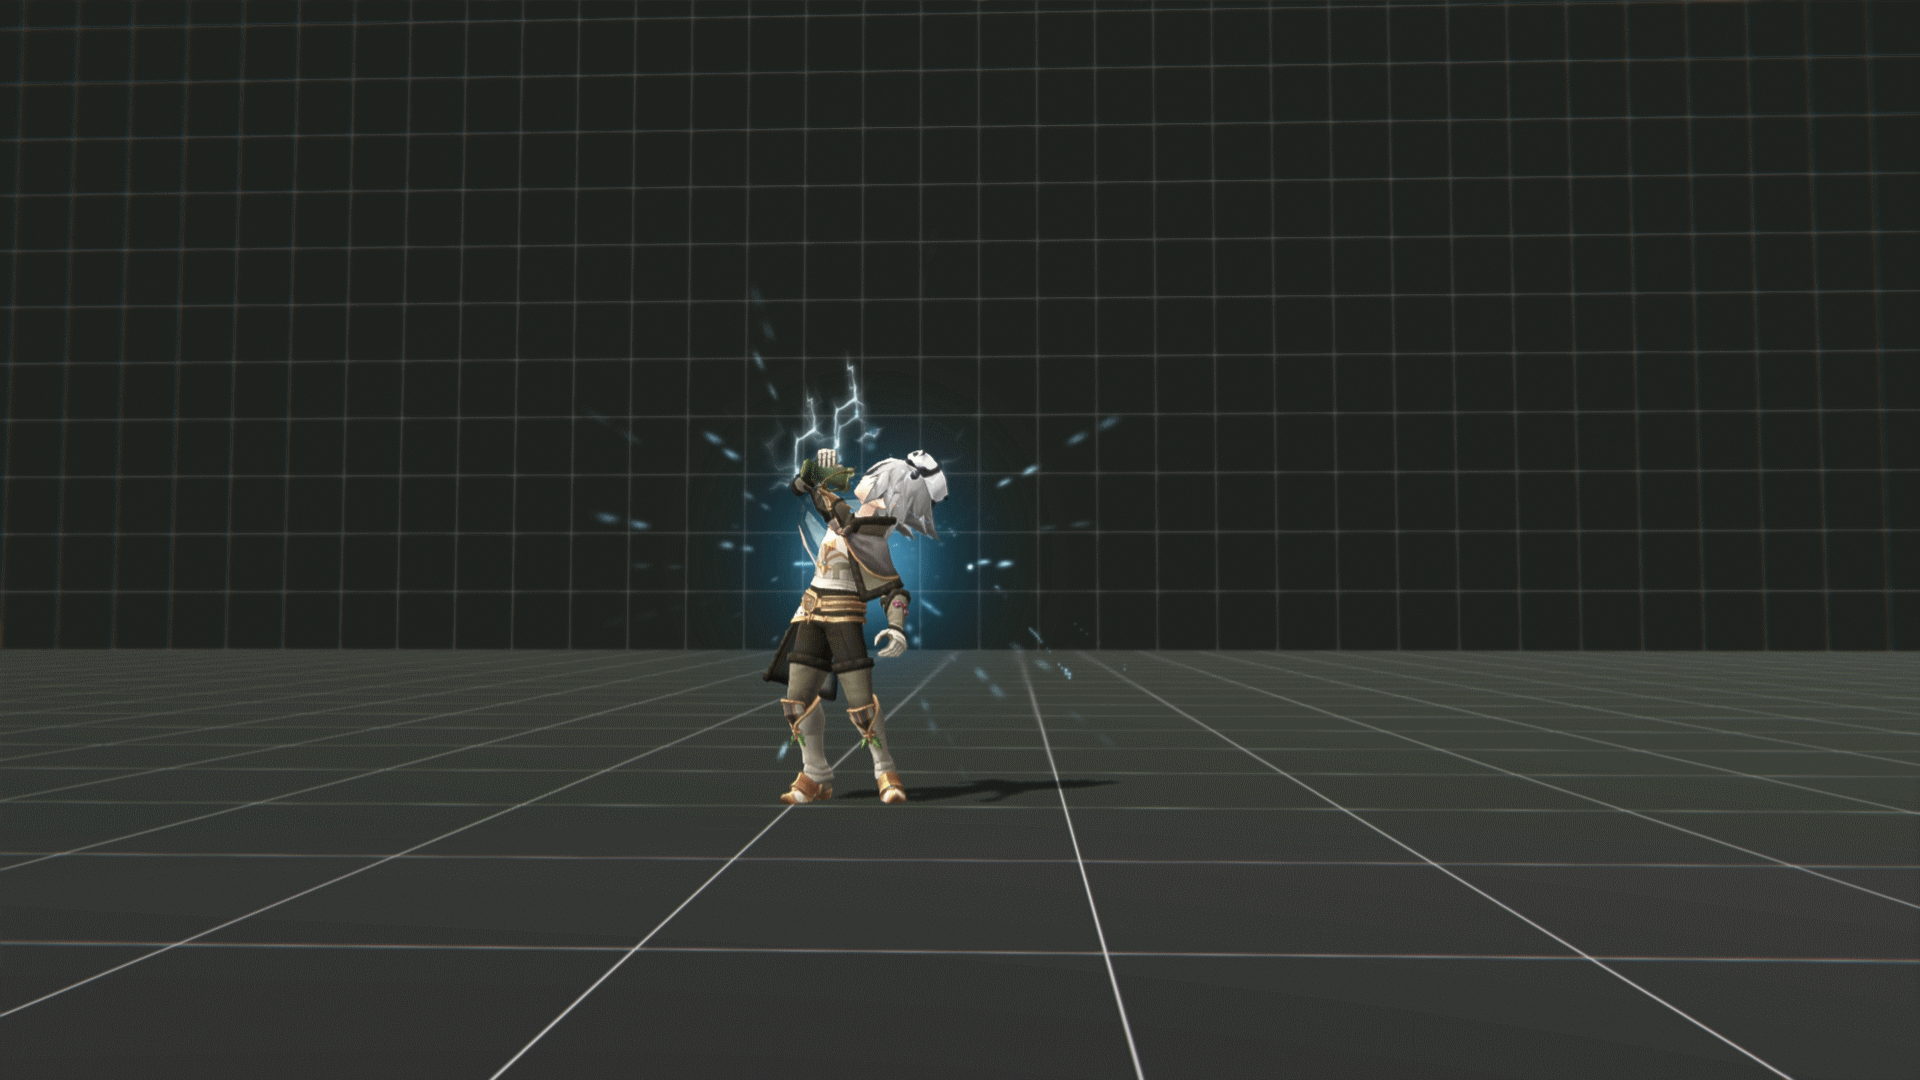
[Awakened Lightning Relic]: Summons a Lightning Relic followed by 3 small lightning relics near itselfs (after ~1.5 seconds) that lasts for 15 seconds. You should have 2 lightning relics up everytime since the cooldown allows enough time for 2 relics to be on field. The lightnings from the relic does quite a lot of damage (about 7th on skill spread), be sure to position these relics near the boss.
-
[Healing Relic]: Summons a Healing Relic that heals everyone for 3.5% of their HP and 1% of their MP every 2 seconds for 11 seconds. It has a 9 seconds cooldown so you should have it up everytime. The range is the exact same as class buff range (7 meters) so you should position it near the boss.
-
[Cure Relic]: Summons a Cure Relic that cures everyone every 2 seconds in a radius of 10 meters (a bit bigger than Healing Relic) for 11 seconds. This skill also can be cast during other skills or in air and can work as a second Aerial Evasion.
-
[Bind Relic]: Summons a Bind Relic for 27 seconds which bind (CC) enemies for 2 seconds every 5 seconds and the range is half of the Cure relic so 5 meters. Bind relic is your Damage Taken debuff (+20% damage dealt to enemy), be sure to position it near the boss. This skill should have a 100% uptime with CDR class buff.
Example of usage to CC: Binding Volva staff
-
[Awakened Grand Sigil]: After casting the skill, draws circles of light in front of you which keeps going until 6 circles are drawn or left click button is clicked. Upon arriving at the last circle or clicking left click, summons a relic at the circle position that lasts 13 seconds. The relic range is the same as Cure relic, 10 meters and pulse every 2 seconds curing and applying a 50% Damage Reduction buff for 5 seconds to yourself and allies. Keep in mind the relic lasts 13 seconds and the buff 5 seconds so as long as you are inside the buff range before the relic disappear you will have a total of 18 seconds damage reduction buff.
-
[Wand Mastery]: A free +18% magic attack passive. Just learn it !
-
[Protection Shell]: Upon cast, applies a damage reduction buff to you (-27%) and your allies (-10%). The range is the same as class buff, 7 meters and lasts 20 seconds (24 seconds with skill plate). This skill has a 52 seconds (72 cooldown - 20 duration) down time without skill plate so use it wisely. 10% feels pretty low but it is enough to prevent death on stomps. This can also be combined with other damage reduction buff to decrease the damage taken.
-
[Blessing of Strikes]: Upon cast, applies a damage buff to you (+21%) and your allies (+10%). This is another party buff with a 100% uptime. You should always rebuff this with redemption aura after a debuff mechanic or if party members asks for buff.
-
[Lightning Rush]: Your only mobility skill. Can cancel any skill and is an iframe during the dash forward animation. You can hold W after the cast to transition into a dash.
-
[Vengeance Blast]: Press left click when attacked to get out of an attack. If hit by a multi hitting skill, there is a small gap where you can press Lightning Rush to get out of the boss range.
-
[First Aid]:
Priest's cheat skill. Have a 30% chance upon getting hit to attack with a holy energy and restore some HP (80% of caster's magic damage). The heal is really high, if you have 5m Magic attack, it heals you for 4m HP. With a 27 seconds cooldown, you should not rely on this but it will save you a lot of time. -
[Awakened Grand Cross]: Fires off a fast projectile that slows down upon hitting an enemy. This has a pretty huge range and hits 6 times then explode for 1 hits (total 7 hits). The last explosion is 50% of the total damage. This skill's main purpose is to get the enhanced version of your Awakened Skill [Antiphona Pool]. The enhanced version appears at the first hit of the Grand Cross but you should try to get all the hits if possible or at least the last explosion. Aiming at the ground under the boss will help get the explosion damage every time.
-
[Awakened Holy Burst]: Your highest damaging skill. Powerfull light is released around you and your relics dealing damage to surrounding enemies. Holy burst fires off of you and each one of your relics which means more relics = more damage. Holy burst hits 5 times from you and 3 times per relics but the total damage is the same per relic and yourself (you basically count like a relic !). It will also activate CM2 which grants you a 10% light damage buff for 20 seconds. Holy burst has a 13.5 seconds cooldown so you should have CM2 up everytime.
Saint
-
[Awakened Great Heal]: Great Heal is one of your 3 heals on Saint referred to as Big Heal. Gives a burst heal of 35% of the target’s HP and gives a Heal Over Time that lasts 10 seconds (activates 5 times every 2 seconds) and heal for 30% of caster’s Magic Attack. Do not neglect the HoT since it scales off of your magic attack.
Ex: If you have 5m magic attack, it heals for 1.5m HP every 2 seconds for 10 seconds = 7.5m HP total.
-
[Relic Reaction]: Your second on the list highest damaging skill. Summons bolt of lightning from each one of your relics (not from you) that deals damage to surrounding enemies. This skill is a bit tricky to use since you need to have your relics up and positioned correctly like holy burst. Each bolt hits 3 times per relic.
-
[Immortality]:
Saint's cheat skill. Saint is well known because of this skill... After a 1.5 seconds cast time, bless everyone in a 7 meters range (same range as class buff) with an invicibility buff for 3 seconds. This skill has a 180 seconds (3min) cooldown and is not affected by cooldown reduction buff and spells. Use it wisely. -
[Class Mastery]: After casting a relic, gives a 30% movement speed buff for 5 seconds.
-
[Class Mastery II]: After casting Holy Burst, gives a 10% light damage buff for 20 seconds.
-
[Class Mastery III]: Enhance Paralyze bolt damage and after casting paralyze bolt, press blessed sign to cast the holy energy in front of you. Blessed sign deals more damage on target hit by paralyze bolt. Aim under the boss with paralyzed bolt to trigger the AoE and hit enemies.
Awakening
-
[Antiphona Pool]: Fires a holy bolt that hits 5 times over 5 seconds. Targets near the center of the bolt will be hit twice (total 10 hits). After casting Grand Cross enhance this skill to have 4 bolts. The first bolt hits 10 times and the remaining 3 bolts, hits 5 times each. Resulting in the enhanced version doing a total of 25 hits and doing 60% more damage than the regular one. Be sure to use these bolts when the boss is not moving and right under the boss to get all the hits.
-
[Blessed Sign]: Amplify and release all the holy energy stored within your body around you dealing damage to surrounding enemies. Hits 10 times and the last 3 hits does the highest damage. This skill can be casted without the CM3 version to hit around you and not in front of you. Try to not cancel the skill since most of the damage comes from the last 3 hits.
Invincibilty Frames
- [Lightning Rush]: 0.5 seconds
- [Sliding Step]: 0.6 seconds
- [Immortality]: 3 seconds
Skill Build
Unified skills : FD Boost, Max HP Boost
With the remaining SP you can max whatever you want. Chain Lightning is a good filler when you have downtime (happens very rarely since you have to do your support duty as well). Detonate might be a choice as well but never use it when playing with an Inquisitor or it will troll his detonate which results on a huge damage loss.
Skill Crests
[Lightning Relic CDR] / [Bind Relic CDR] / [Relic Reaction CDR] / [Holy Burst DMG] / [Grand Cross DMG]
Optional : [Protection Shell DURATION] / [Block CDR]
Skill up: +1 Holy Burst
Gameplay
Damage on Saint
Dealing damage on saint is not your main goal but as a support you should try to do some damage as well. Saint's damage comes from relic positioning and boss reading since you need the boss to stay near your relics as much as you can. Reading boss mechanics and movement is key to dealing damage on Saint. You should always try to get the most out of your relics and not just place them randomly.
Rotation
- Spawn as many relics as you can (2 lightnings relics, 1 healing relic, 1 bind relic, optional: 1 cure relic and 1 grand sigil) and place them around the boss.
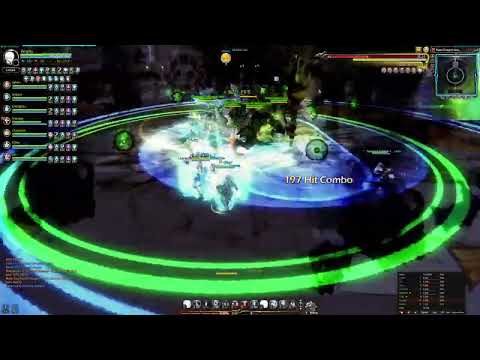
- Cast Holy Burst near the boss to get 5 hits from you and (3 * numbers of relics) hits. It will also activate CM2 and grant 10% light buff to yourself.
- Cast Relic Reaction to fire bolts on as many relics as possible.
- Cast regular Antiphona Pool followed by Grand Cross then the enhanced Antiphona Pool. Be sure to aim under the boss to get the max hits.
- Cast CM3.
Do not forget to press lightning relic, healing relic and bind relic off cooldown to keep them up. You can also use cure relic and grand sigil if you know you won't need them for an upcoming mechanic.
Golem

Golem Spread

Relic table:
| Relic | Range(meters) | Pulse(every x seconds) | Total Pulse | Duration | Cooldown |
|---|---|---|---|---|---|
| Bind | 5 | 5 | 5 | 27 | 26.7 |
| Healing | 7 | 2 | 5 | 11 | 9 |
| Cure | 10 | 2 | 5 | 11 | 25.2 |
| Grand Sigil | 10 | 2 | 6 | 13 | 189 |
Grand Sigil total buff duration = 18 seconds
Hit count table:
- Holy Burst hits = 5
- Holy Burst hits per relic = 3
- Relic Reaction hits per relic = 3
| Relic | Holy Burst | Relic Reaction |
|---|---|---|
| Lightning + Small Relics (x3) | (3 x 4) + 5 = 17 | 12 |
| Bind | 3 + 5 = 8 | 3 |
| Healing | 3 + 5 = 8 | 3 |
| Cure | 3 + 5 = 8 | 3 |
| Grand Sigil | 3 + 5 = 8 | 3 |
Relic usage
Only hold on Cure relic and Grand Sigil for some mechanics. If you know you won't need these relics for upcoming mechanics, do not hesitate to use them. Especially Cure relic which only has a 25.2 seconds cooldown and the summoning damage is pretty high.
Every relic on summon deals damage to the target but Cure Relic has the highest one (99% of 1 holy burst damage). The basic attack is the summoning relic hit. Cure Relic + Basic Attack is the total damage from the relic summoning.

Rune HC Saint POV
Coming Soon
Rune HC Spread

Heal on Saint
As a Saint and one of the 3 healer classes your main role is to support your party with heals and buffs. You should try to keep your party members alive.
As a Healer you should try to read the boss's next move and ALWAYS look out for your party members health bar and buff bars. Knowing what is their HP, what buff they have (Damage Reduction buff) and what move the boss is about to do next, will let you be ready and react on time. Boss HP is a good indicator on what mechanic is going to happen.
Healing
-
You have 3 heals on Saint. Big Heal, Small Heal and Healing relic. Small Heal and Big Heal have a huge range, about 30 meters. If you stay in the middle in BTG room, it will cover the whole room.
-
Big Heal is your main heal and should be used in case of an emergency.
-
Ex: One or multiple of your teammates got hit by a big hitting skill and are under 30% of their HP. You sould instantly press Big Heal.
-
Emergency Heal 1:
-
Emergency Heal 2:
-
-
-
Small Heal is the heal you would be using the most. You should use Small Heal whenever one or more party members HP is under 85%.
-
Healing relic is your 100% uptime heal which should be on the field everytime. It gives a total of 17.5% healing and 5% MP over 10 seconds.
-
Ex : You have a total of 14m HP, you will get 2.45m HP and 700k MP over 10 seconds. When your party members got hit by an AOE skill which dealt about 10-20% of their health and you know boss is not going to do any AOE skill for the remaining 10-15 seconds, you should just let the relic heal them back to full HP.
-
Healing Relic - Ally passive healing during no mechanics:
-
Healing Relic -Passive healing to not waste burst heals:

-
-
-
Sometimes you won't have Big Heal up when your party members got hit heavily. Do not hesitate to use Small Heal if that happens. In case you don't have any Heals and boss is about to hit hard you should press Immortality.
No Heals up: In case you used all your heals and party members keep getting hit check your buff bar. If you see a HoT from heals you used before, do not panic. If the DPS greed and die it is their fault for not playing safe. If there is no HoT on allies, you still do not need to panic in case they are greeding and die. Always tell your party members if you don't have heals by using a Macro, typing in the chat or yelling at them in voice channel. DPS class should learn to dodge as well !
No burst heal - HoT healing:
Do not overheal: There is no need to press another heal when your HoT is up. If your ally has 50% HP and you used Small Heal, it is normal that he won't be full health instantly. Wait a few seconds, Healing Relic and the HoT will do the work. Only heal to full health if you know the boss is going to do mechanics in which your ally is most likely to get hit. Otherwise your ally should play safe until he is full life or get tank bubbles again.
HoT healing:
Avoid doing this:
Overheal - 2 HoT:

Only case this should happen is if you need to use 2 burst heals in a row because boss is about to hit hard again.
Do not panic:
when you see your party members health low, you don't need to press heal instantly.
If you see your allies low on health and know what mechanics the boss is doing next,
you can estimate how much damage your ally will take based on :
- Boss attack
- if ally has tank bubble
- if ally has any damage reduction buff (self / party / passive) => you might need to know the classes kit
According to these information you will know if you need to heal your ally before or after the bosses next hit.
Reason : The reason for not healing your ally instantly (if not needed) is because you want to maximize the use of heals. It means to use heal on not only 1 but as much allies as possible.
Ex:
- PT have tank Bubble
- Raven got hit => lost 30% barrier and 40% HP
- Heals are off cooldown but only 1 out of 8 party members got hit
- I noticed what mechanics is happening next and knew it would not deal enough damage to one shot him :
- This boss mechanic do not do enough damage
- Assassin have feint
Considering all these points, healing after the mechanics would help in case :
- Other party member got hit
- Another mechanic follows up => HoT is up and ready to heal (Small Heal: 15 seconds | Big Heal: 10 seconds)
Tank bubble icon:

Do not panic heal:
As a Healer, your job is to save and prevent the death of your allies but keep in mind you have limited support abilities. If one or multiple allies keep getting hit and do not dodge it is not your fault.
Damage Reduction
- You have 2 DR buff on Saint. Protection Shell and Grand Sigil.
- Protection Shell DR buff is only 10%. You should try combining it with other DR buff for heavy hitting mechanics. Knowing what other classes are in your party and what party or self DR buff skill they have will help on when to cast Protection Shell. Keep in mind Protection Shell gives -27% DR to the caster and only -10% to the party members.
- Ex: In Rune Dragon Nest Hardcore at the 2nd boss after the Dark Room mechanics (~20% boss HP) the bosss will do a stomp. You can prevent party member death by using Protection Shell on the party members that are going to get hit by the stomp. 10% DR is enough to prevent death.
- Ex 2: You have a Kali in your party, you should try to synchronize your Protection Shell with Kali's Phantom Guard (this skill have a 100% uptime) during some mechanics where you know the boss is going to do lots of damage and party members might get hit (like stomps).
- Grand Sigil is a 50% DR buff which is one of the highest party DR buff but it comes with a long CD of 189 seconds. Use it wisely ! Grand Sigil is good to use during mechanics where the boss is doing a lot of damage and your party members can't really dodge them or might get hit. In order to save heals since you only have 2 bursts heals, you would want to use DR to reduce the damage taken and let the HoT from Small Heal + Healing Relic do the work.
-
Ex: Boss is sitting in one spot but doing AOE skills. You should cast Grand Sigil near the boss so your allies can damage the boss. Even if your allies end up eating some of the hits, with a 50% DR buff + Healing Relic and Small Heal HoT they will be able to survive.
-
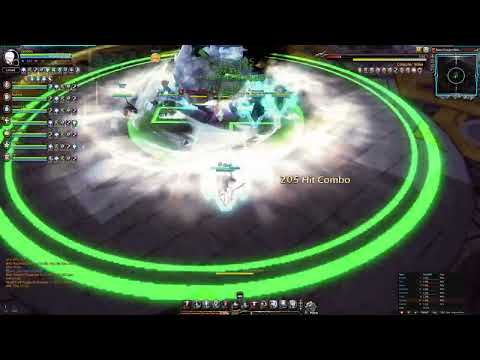
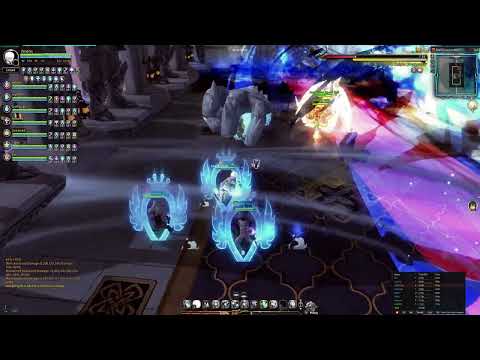
Ex 2: Rune Dragon Nest Normal or Hardcore, during Volva (3rd boss) mechanics where he transforms 2 people into green balls and these 2 people shoots green balls in a cone. A lot of party members tend to die because the marked people do not stack or they got desynced or they did not check where the balls are coming from. As a Healer you can prevent the death of your allies by putting Grand Sigil near the boss since the buff AoE is big enough to cover most of the map.
Also keep in mind to not over heal if allies do not need heal, as we can see in this video small heal and the HoT are enough to get party members health to 100% even after another mechanic happened.-
Volva green balls stack:
-
-
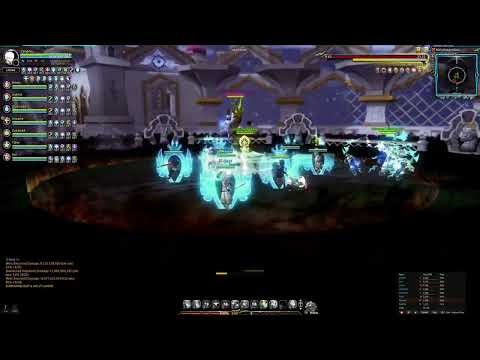
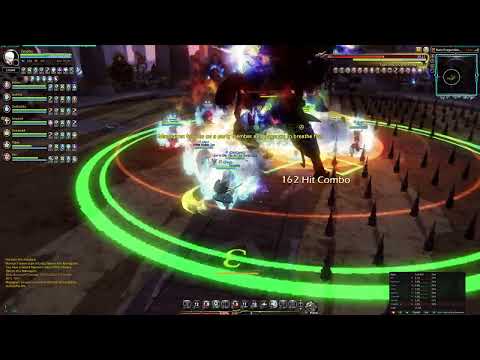
Ex 3: In Rune Dragon Nest Hardcore during Knight (2nd boss) dark room mechanics, you can cast Grand Sigil in the middle to give a 50% DR buff to your allies to prevent death. Dropping a Healing Relic near the Grand Sigil can help sustain some hits as well.
-
Dark Room:
-
-
- Protection Shell DR buff is only 10%. You should try combining it with other DR buff for heavy hitting mechanics. Knowing what other classes are in your party and what party or self DR buff skill they have will help on when to cast Protection Shell. Keep in mind Protection Shell gives -27% DR to the caster and only -10% to the party members.
Cure
- You have 2 cures on Saint, Cure Relic and Grand Sigil.
-
Cure Relic is your main cure skill.
-
Ex: In Black Dragon Nest stage 1, your allies got hit by the boss and has defense debuff or movement speed debuff. You should cast Cure Relic near the boss to remove the debuff.
-
Ex 2: In Rune Dragon Nest Normal or Hardcore at Volva (3rd boss) when he spawns electric puddles twice, you should precast Cure Relic near the boss or cast it right after the 2nd hit (in air) in order to remove electrocution debuff on your allies.
-
Shock cure:
-
-
Ex 3: In Rune Dragon Nest Normal or Hardcore, at dragon during wisp mechanics, you will need to cure allies or yourself from the binding debuff.
-
Wisp dragon cure:
-
Side note: Cure Relic can be casted in air or during other skills so you can use it to cancel the end lag of a skill or if you got hit.
-
-
Grand Sigil is another skill with a cure. Downpart of Grand Sigil is, it is your highest DR buff skill with a long CD. It is not advised to use it as a cure except if your Cure Relic is in cooldown and it is an emergency.
-
Immortality
- One of the strongest abilities in the game.
- Immortality allows you to give a party invincibility buff for 3 seconds within 7 meters. You can use it to either let your party members greed damage on some mechanics or save them from death.
-
Ex: In Rune Dragon Nest Hardcore, at Volva (3rd boss) in case someone get stun locked during Shotgun mechanic, you can use immortality to save them.
-
Volva Shotgun:
-
-
Ex: In Rune Dragon Nest Hardcore, at Managarm (1st boss) you can use immortality during the suction to let your party members greed damage without getting interrupted.
-
Dog suction greed:

-
-
Ex: In Rune Dragon Nest Hardcore, at Knight (2nd boss) you can use immortality after dark room for the stomp.
-
Knight dark room stomp:
-
-
- Immortality allows you to give a party invincibility buff for 3 seconds within 7 meters. You can use it to either let your party members greed damage on some mechanics or save them from death.
Examples of immortality usage
Immortality:
| Raid | Boss | Mechanic | Type | Timing | Video |
|---|---|---|---|---|---|
| Rune (Norm - HC) | Stage 1 | Suction | Greed | Count 4 seconds then immo | Dog suction greed |
| Rune (Norm - HC) | Stage 1 | Breath | Emergency | DPS got mark and is about to die, press immo if you have no heal and ally is under 40% HP. | |
| Rune (Norm - HC) | Stage 1 | Crossroad | Greed | Check buff bar and at 3.5 or 4 seconds (if you have 200+ ping) press immortality. | Crossroad immo |
| Rune (Norm - HC) | Stage 2 | Stack mechanic | Safety | During stack mechanic, you can immo when mark is at 0 second. (Check buff bar) in case people did not stack correctly | Stack mech |
| Rune (Norm - HC) | Stage 2 | Bar mechanic | Emergency | In case someone forgot to get his mark, you should immo before the mark lands on the shield or right after, before the explosion, to prevent a wipe. | Bar mech failed |
| Rune (HC) | Stage 2 | Dark room | Emergency | During dark room if you ran out of heal and an ally is about to die, press immortality | |
| Rune (HC) | Stage 2 | Dark room stomp | Safety | After dark room you can immo the stomp | Knight dark room stomp |
| Rune (HC) | Stage 3 | Shotgun | Emergency | During shotgun, in case someone get stun locked you should press immo | Volva Shotgun |
| Rune (Norm - HC) | Stage 3 | Pizza | Emergency | During pizza, especially confusion. When a party member gets hit, press immo to prevent him from getting hit again and die. Do not immo if where he stands is going to be the next safe zone. | Pizza Immo |
| Rune (Norm - HC) | Stage 4 phase 2 | Suction | Greed | In case you have a tank, during suction mechanics you can use immortality at the 6th purple pulse (or count 5 seconds) and chain with endure right after | Suction dragon immo then endure |
| Rune (Norm - HC) | Stage 4 phase 2 | Starbust | Safety | During Starbust you can press immortality to prevent allies from getting comboed or hit and get their skill canceled. | |
| Rune (Norm - HC) | Stage 4 phase 2 | Sigil | Emergency | In case someone got stuck in between flames or if the last breath mark ran too fast. You can immo to cross the flames or to stay in the red zone until mechanic is done (it is only 3 seconds so time it right before mark gets to you). | |
| BDN TA | Stage 1 | Stomp | Safety | After the combo + head bump press immo | Burpy stomp |
| BDN TA | Stage 2 | Fear | Greed | When boss teleports to mid, he might do the fear mechanics where you have to spam ADAD. You can immo to prevet having to spam ADAD. | |
| BDN TA | Stage 3 | Suction | Greed | During the spin you can immo the last spin or if you have endure you can immo the first spin followed by endure. | |
| BDN TA | Stage 4 | Triple stomp | Safety | When boss crosses hands and is about to slam the ground, you should press immo. Triple stomp would most likely kill or wipe your team. | |
| BDN TA | Stage 5 phase 2 | Stack mechanic | Safety | After 50% when the text appear for the stack mechanics. You should count to 6 seconds or wait until mechanics like rain happens to immo. It will prevent allies from getting hit and thrown out of the green circles. | |
| KTN | Stage 2 | Stomp | Safety | when boss disappear in air and red mark appears on ground, you should press immo. |